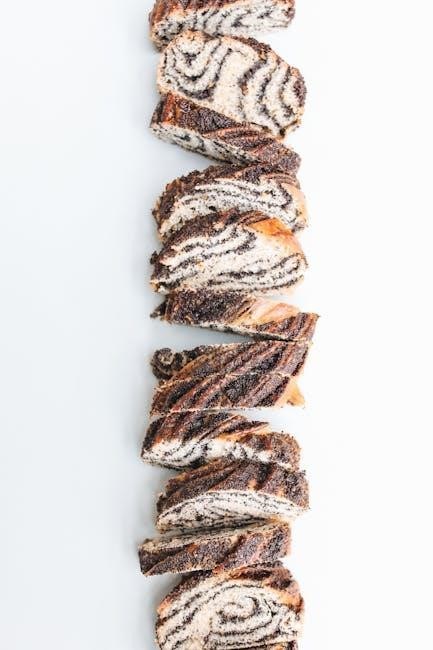
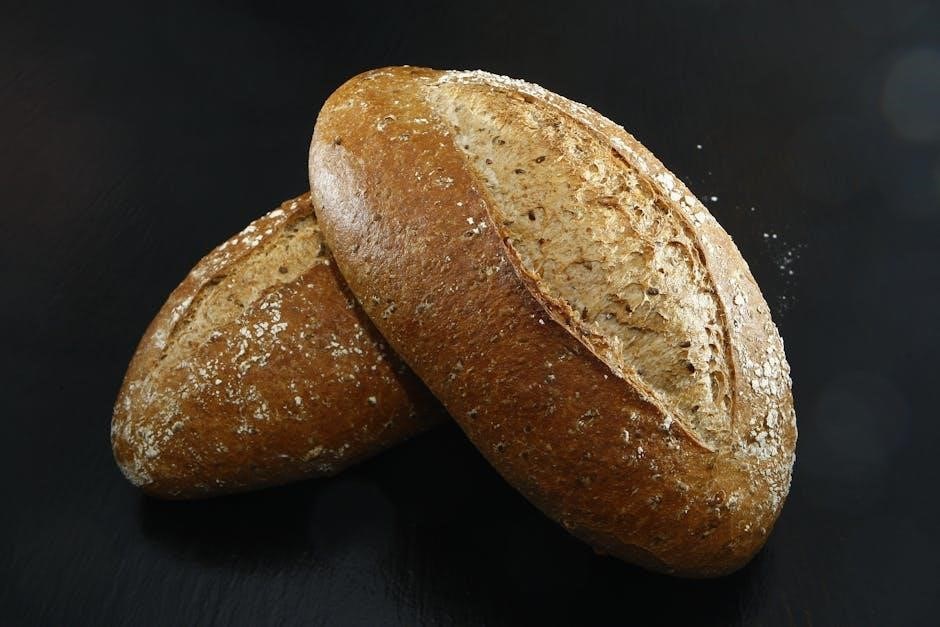
Take and bake bread offers a convenient solution for enjoying freshly baked bread at home․ Partially baked loaves simplify meal prep, providing a homemade taste with minimal effort and time․
Essential Supplies for Baking Take and Bake Bread
To achieve perfectly baked take and bake bread, you’ll need a few essential supplies․ First and foremost, a reliable oven is crucial for baking․ While conventional ovens are standard, alternatives like toaster ovens or grills can also be used․ Next, you’ll need scissors or a knife to carefully remove the bread from its packaging․ A wire rack is highly recommended for cooling the bread after baking, helping to maintain its texture and prevent sogginess․ Additionally, oven mitts or tongs are useful for safely handling the hot bread once it’s ready․ These tools ensure a smooth and safe baking process, allowing you to enjoy your take and bake bread at its best․
The Baking Process
Baking take and bake bread involves placing the partially baked loaf in a preheated oven, where it transforms into a golden, crusty bread with a soft interior․ This simple process delivers a homemade taste effortlessly․
Preheating the Oven
Preheating the oven is a crucial step in baking take and bake bread․ Most recipes recommend preheating to 400°F to 425°F, depending on the type of bread․ Ensure the oven reaches the desired temperature before placing the bread inside․ This step typically takes about 10-15 minutes, allowing the oven to stabilize evenly․ For the best results, use an oven thermometer to confirm the temperature accuracy․ Proper preheating ensures the bread bakes consistently, achieving the perfect crust and texture․ Some recipes may suggest slightly lower temperatures, such as 350°F, but always refer to the packaging instructions for specific guidance․ Once preheated, the oven is ready to transform the partially baked loaf into a golden, crusty masterpiece․ Remember, a preheated oven is essential for achieving the desired rise and browning․ Let the oven heat fully before proceeding to the next step in the baking process․
Removing Bread from Packaging
Before baking, carefully remove the take and bake bread from its packaging․ Most loaves come in a plastic bag or wrapped in plastic film․ Gently cut or tear the packaging along the seams to avoid damaging the bread․ Some breads may include an oxygen absorber or packet inside the bag, which should be discarded before baking․ Once removed, place the bread directly on the oven rack or in a baking dish, depending on the instructions․ For breads in a bag, such as demi baguettes, you may bake them in the bag or remove them first․ Handle the dough lightly to preserve its shape and structure․ Properly removing the bread ensures even baking and helps achieve the desired crust texture․ This step is simple but essential for preparing the bread for the baking process․ Always follow the specific instructions provided with your take and bake bread for the best results․
Baking Time and Temperature
Baking time and temperature are crucial for achieving perfectly baked take and bake bread․ Preheat your oven to the recommended temperature, typically between 350°F and 425°F, depending on the type of bread․ For most loaves, a temperature of 400°F is standard, while demi baguettes or smaller pieces may require a slightly higher temperature of 425°F․ Baking times vary accordingly, with loaves usually taking 12-15 minutes and demi baguettes requiring 6-8 minutes․ Frozen bread may need an additional 3-5 minutes to bake thoroughly․ Always refer to the packaging instructions for specific guidance, as some breads may have unique requirements․ To ensure doneness, check if the crust is golden brown and the center is soft and hot to the touch․ For a crisper crust, bake for the maximum recommended time․ Keep an eye on the bread during the last few minutes to prevent over-browning․ Proper temperature and time adherence ensure a perfectly baked loaf every time․
Checking for Doneness
Checking for doneness ensures your take and bake bread is perfectly baked․ To determine if your bread is ready, look for a golden-brown crust and a soft, hot interior․ Gently tap the top of the loaf; it should sound hollow, indicating the bread is fully baked․ For a more precise check, use an internal thermometer․ The internal temperature should reach 180°F to 194°F for most bread types․ If the bread feels light and sounds hollow when tapped, it is ready․ Avoid over-baking, as this can make the bread dry and crumbly․ If you prefer a crisper crust, bake for the maximum recommended time, but monitor closely to prevent burning․ Once baked, remove the bread from the oven and let it cool slightly before slicing․ Properly checking for doneness ensures a delicious, perfectly textured loaf every time․
Freezing and Storage Instructions
Freezing and proper storage preserve take and bake bread freshness․ Freeze the loaf immediately if not baked the same day․ Store in airtight packaging or freezer-safe bags to maintain quality; Thaw frozen bread before baking for best results․
Freezing Take and Bake Bread
Freezing is an excellent way to preserve take and bake bread while maintaining its freshness․ To freeze, ensure the bread is completely sealed in its original packaging or placed in an airtight container or freezer-safe bag․ This prevents freezer burn and keeps the bread fresh for up to three months․ When freezing, it’s important to note that the bread is partially baked, so it should not be thawed before freezing․ Instead, freeze it as soon as possible if you don’t plan to bake it immediately․ Properly frozen bread will retain its quality and texture when baked later․ Always label the frozen bread with the date to ensure you use it within the recommended timeframe․ Freezing is a convenient option for enjoying take and bake bread at your leisure, ensuring a fresh, homemade taste whenever you’re ready to bake․
Thawing and Baking Frozen Bread
Thawing and baking frozen take and bake bread is straightforward, ensuring a freshly baked result․ To begin, remove the desired portion from the freezer and place it in the refrigerator overnight to thaw slowly․ For a quicker method, you can thaw at room temperature, covered with plastic wrap or a damp cloth to prevent drying out․ Once thawed, preheat your oven to the recommended temperature, typically between 350°F and 425°F, depending on the type of bread․ Place the bread directly on the oven rack or in a baking dish, following the packaging instructions․ Bake for 10-15 minutes for smaller portions or 15-20 minutes for larger loaves, until the crust is golden brown and the interior is soft and warm․ Keep an eye on the bread during the last few minutes to avoid over-browning․ After baking, let the bread cool for a few minutes before slicing and serving․ This process ensures your take and bake bread retains its fresh, homemade quality even after freezing․
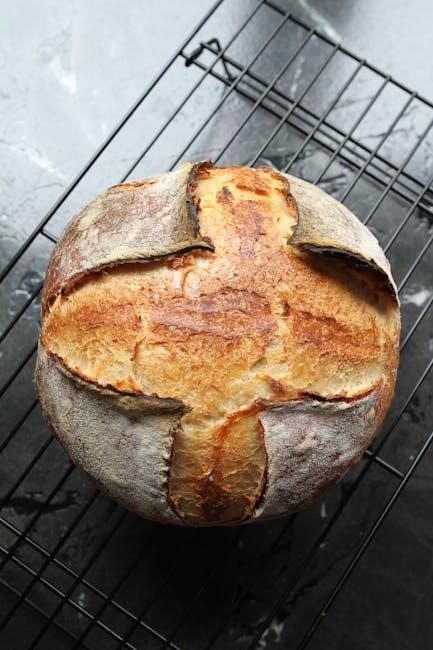
Tips for Achieving the Perfect Crust
Achieving the perfect crust when baking take and bake bread involves a few key techniques․ First, ensure your oven is preheated to the correct temperature, as this helps create a crispy exterior․ Placing the bread directly on the oven rack or using a preheated baking stone can enhance crust formation․ For an extra-crispy crust, lightly brush the bread with water or an egg wash before baking․ Steam in the oven also plays a role; you can place a pan of water on the bottom rack to create moisture, which helps develop a golden, crackling crust․ Avoid opening the oven door too early, as this can prevent the crust from setting properly․ Once baked, let the bread cool on a wire rack for a few minutes to allow the crust to harden slightly before slicing․ These simple steps will help you achieve a crust that is both golden and delicious, elevating your take and bake bread to a professional-level finish․

Common Mistakes to Avoid When Baking
When baking take and bake bread, there are several common mistakes to avoid for the best results․ One of the most frequent errors is not preheating the oven to the correct temperature, which can lead to uneven baking․ Another mistake is baking the bread while it’s still frozen, as this can result in an undercooked interior and overcooked crust․ Always ensure the bread is thawed or baked according to the package instructions․ Overbaking is another issue; check the bread frequently toward the end of the baking time to prevent it from becoming too dark or dry․ Additionally, opening the oven door too early can prevent the crust from setting properly, so wait until the recommended baking time is nearly up before checking․ Lastly, avoid placing the bread too close to the oven walls or other items, as this can cause irregular cooking․ By avoiding these mistakes, you can achieve a perfectly baked loaf every time․
Take and bake bread offers an effortless way to enjoy freshly baked bread at home, delivering the warmth and aroma of a homemade loaf without the lengthy preparation․ Perfect for various occasions, it caters to different tastes and dietary preferences, ensuring everyone can savor the delight of fresh bread․ By following simple instructions and avoiding common mistakes, you can achieve a perfectly baked crust and a soft interior․ Whether you’re preparing a family meal or a special gathering, take and bake bread provides convenience and satisfaction․ Its versatility allows for customization, making it a timeless choice for any baker․ Embrace the simplicity and enjoy the rewarding experience of baking delicious bread at home․